Sometimes, it’s good to schedule text messages because it can make our life easier. By scheduling a text message, you can ensure that you never forget a birthday or any other greetings.
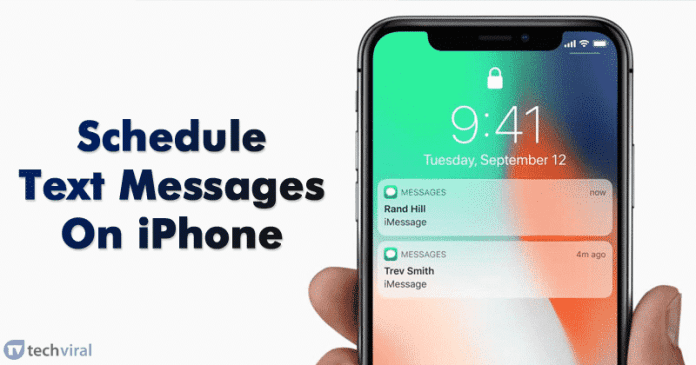
How To Schedule Text Messages On iPhone
So, in this article, we have decided to share two best methods to schedule text messages on iPhone. So, let’s check out how to schedule text messages on iPhone.
1. Using AutoSender – Auto Text Later
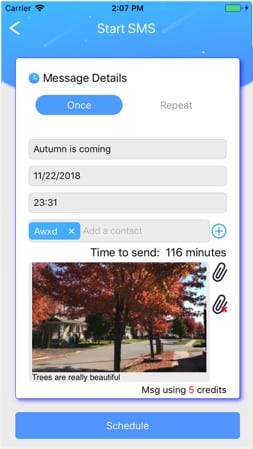
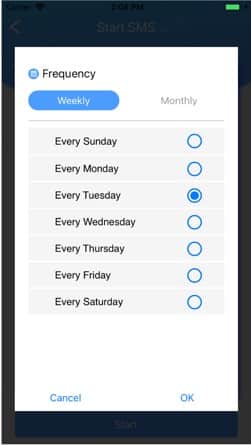
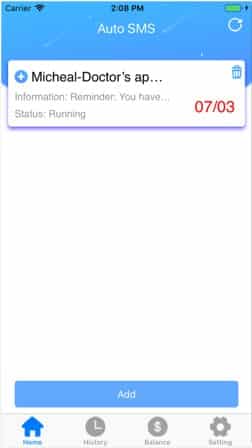
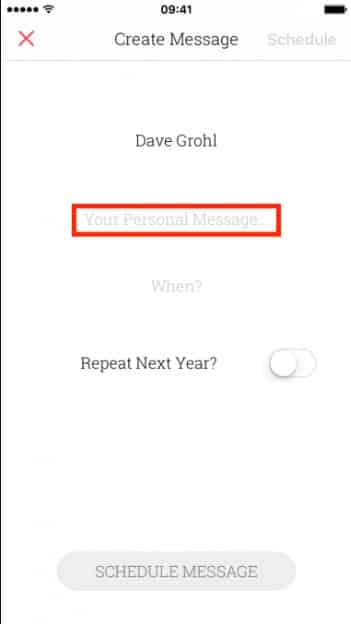
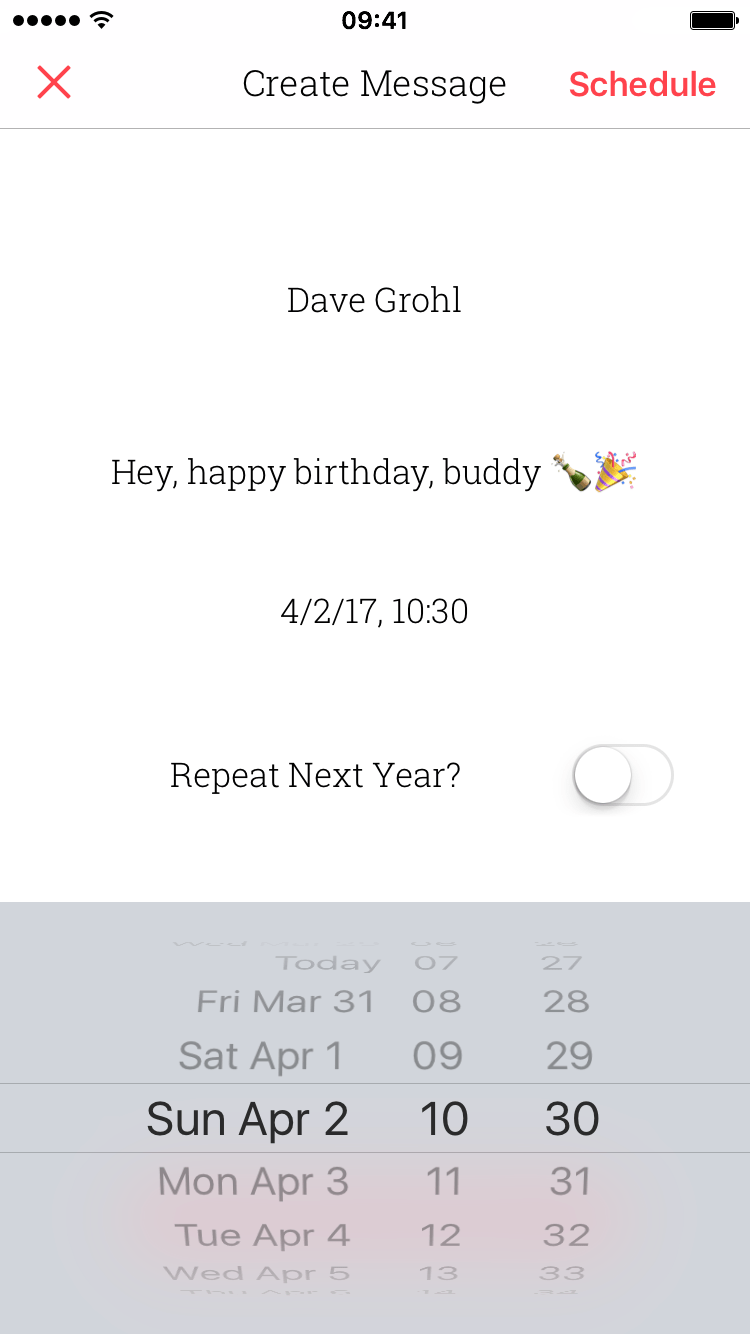
AutoSender – Auto Text Later is one of the best iPhone apps to schedule text messages. The great thing about AutoSender – Auto Text Later is that it allows users to create a group of target contacts. So, you can choose those contacts to auto to send text or picture messages. Step 1. First of all, download & install AutoSender – Auto Text Later on your iOS device from the App store. Once done open the app. Step 2. Now tap on ‘Create Message’ and then fill in the message details. For one time schedule, select the ‘Once’ and then fill in the message, date and time. You can also add multiple contacts as well. Once done, tap on the ‘Schedule’ button. Step 3. If you want to set up repetitive messages, then select ‘Repeat’ and then select the frequency. Step 4. Once done, you will be able to see the scheduled message. You can also customize the scheduled messages. That’s it, you are done! This is how you can use AutoSender – Auto Text Later to schedule text messages on iPhone.
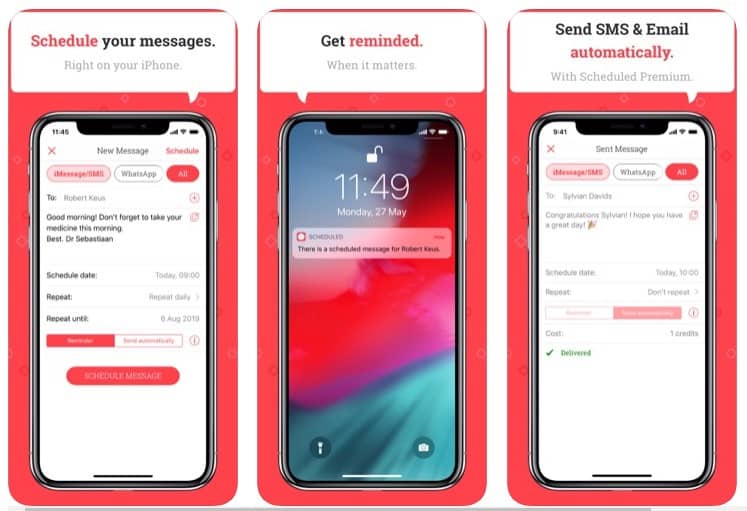
Using Scheduled App
Scheduled App for iOS is another best iPhone app to schedule written text messages. The great thing about the Scheduled App is that it lets users schedule text messages automatically through SMS/iMessage and Email. Not only that, but Scheduled App also allows users to schedule a reminder for the major messenger apps. Here’s how you can use Scheduled App to schedule text messages. Step 1. First of all, download & install the Scheduled App on your iOS device. Step 2. Next, open the app and then tap on the ‘Create Message’ button. Step 3. In the next step, tap on ‘Select Recipient(s)’ button and then select the contacts. Now type in the message. Step 4. Now tap on the Schedule date button and you will be presented with a date-and-time scroll. Select the date and time and then tap on ‘Schedule Message’ That’s it, you are done! The message will be sent on the scheduled date. This is how you can use Scheduled App to schedule text messages on iPhone. So above is all about How To Schedule Text Messages On iPhone. I hope this article helped you! Share it with your friends also. If you know any other methods to schedule SMS on iPhone, let us know in the comment box below.
Δ