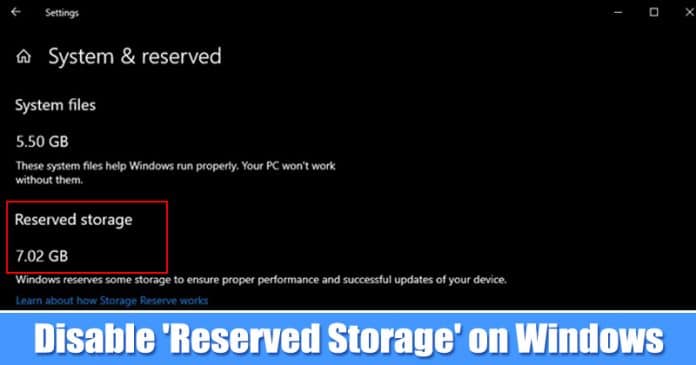
Sometimes, due to insufficient storage, Windows 10 updates fail to install. To deal with such issues, Microsoft introduced a new feature known as ‘Reserved Storage’. Microsoft introduced the Reserved Storage with the May 2019 update, and it reserves up to 7GB of your device’s storage for updates and file downloads.
What is Reserved Storage?
Well, by default Windows operating system keeps a certain amount of free disk space to download and install the updates. That free disk space is kept as ‘Reserved’. The Reserved Storage aims to fix storage related problems by reserving disk space for future updates. With May 2019 Update, Microsoft Windows 10 books almost 7GB of storage space as reserved to ensure updates. Please keep in mind that the Reserved Storage of Windows 10 doesn’t mean that Windows 10 will use a full extra 7GB for downloading and installing updates. That means that 7GB of storage can be used to install apps, temp files, or store files as well.
Check If Your PC is Using Reserved Storage
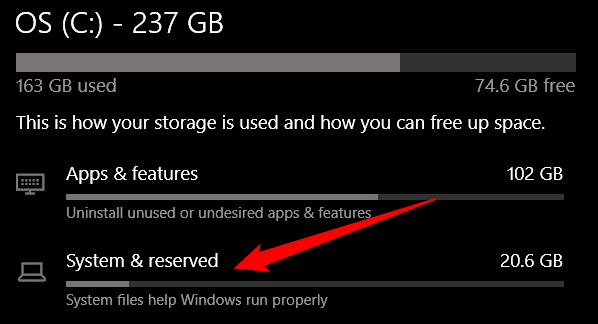
Well, the Reserved Storage feature is introduced with Windows 10 Version 1903. If you are using an older version of Windows 10, then you won’t find the Reserved Storage option. To check if your system is using the reserved storage, head to the Settings > System > Storage. There select ‘Show More Categories > System & Reserved’. If your PC is using Reserved Storage, you will get a specific section for ‘System & Reserved’. If you can’t find that particular section, then your PC is not using the Reserved Storage.
How To Disable Reserved Storage:
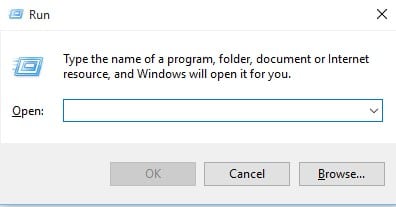
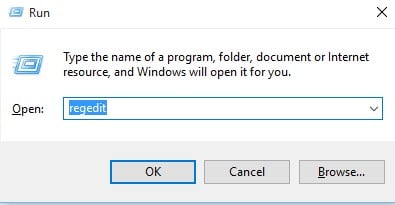
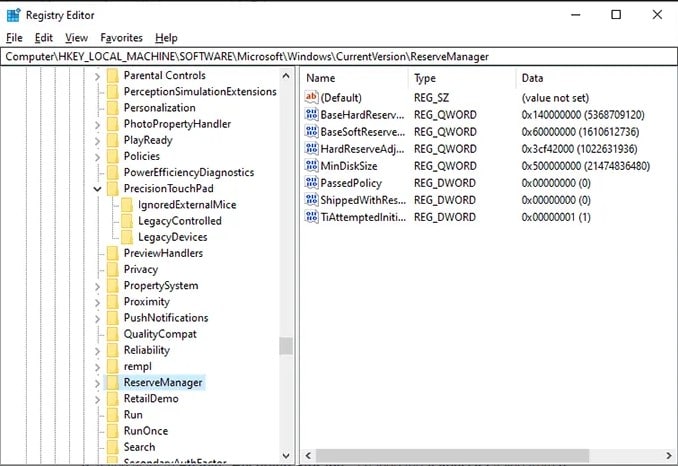
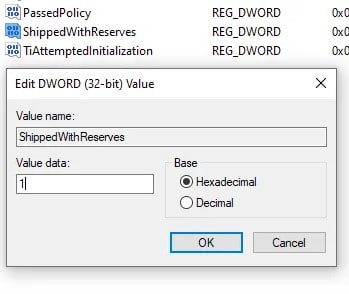
Well, if your device has enough storage space, then you don’t need to disable the Windows Reserved Storage. However, if your computer is running short of storage space, then you can manually disable the Windows 10 Reserved Storage. There’s no harm in disabling the Windows 10 Reserved Storage. Follow some of the simple steps given below to disable Windows 10 Reserved Storage. Step 1. First of all, open the RUN dialog box on your Windows 10 computer. Step 2. On the RUN dialog box, you need to type ‘regedit’ and hit Enter. Step 3. Now navigate to the following path: ComputerHKEY_LOCAL_MACHINESOFTWAREMicrosoftWindowsCurrentVersionReserveManager Step 4. From the right-hand side panel, double click on the ‘ShippedWithReserves’ DWORD and set its value to 0. Finally, click on ‘Ok’ Step 5. To enable the Reserved Storage, set the value of the same DWORD as ‘1’ and hit Ok. That’s it, you are done! This is how you can disable or enable Reserved Storage on Windows 10 computer. So, this article is all about how to enable and disable the Reserved Storage option in Windows 10 computer. I hope this article helped you! Share it with your friends also. I hope this article helped you! Share it with your friends also.
Δ