When it comes to blocking system-wide ads, rooting seems to be an option, but users rarely root their devices these days. Also, rooting invites risks like phone brick, security problems, etc. What if I tell you that you can remove ads from your Android without gaining root access? This is possible with the Private DNS option of Android. Google has already introduced a new feature known as ‘Private DNS’ or DNS over TLS on Android Pie. For those unaware, it’s a feature that allows users to easily change or connect to different DNS on Android. The Private DNS option of Android Pie will enable users to set any particular DNS server for WiFi and Mobile networks in one place rather than changing it one by one. So, to block ads on Android, you need to switch to Adguard DNS.
What is Adguard DNS?
According to the official site, AdGuard DNS is a foolproof way to block internet ads that don’t require installing applications. It’s free and compatible with every device. The key thing about AdGuard DNS is that you get rootless systemwide ad-blocking on Android devices. That means you no longer need to root your device or play with Chrome flags to disable ads on Android. So, in this article, we will share a working method that would help you block ads using Private DNS on Android.
Steps to Block Ads on Android Using Private DNS
Please ensure that your phone runs on Android 9 Pie or above. If it’s running on Pie, follow some simple steps given below.
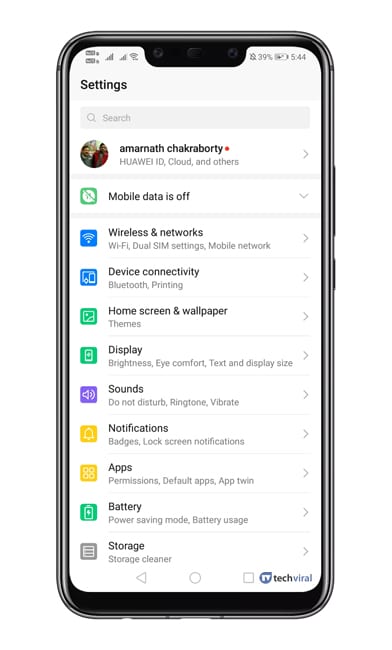
First, open your Android app drawer and tap on Settings.
Under the Settings tab, you must select Network & Internet or Wireless & Networks.
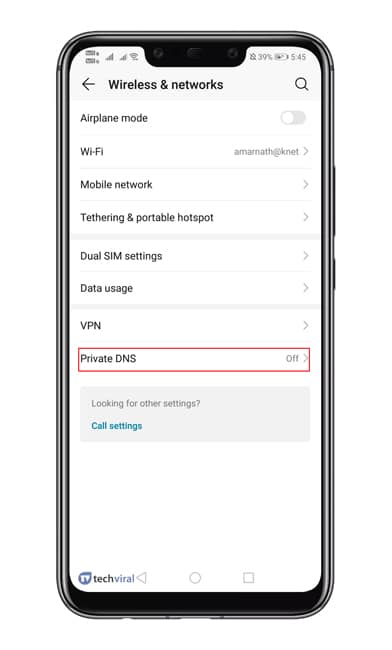
Under the Network & Internet Settings, select Private DNS.
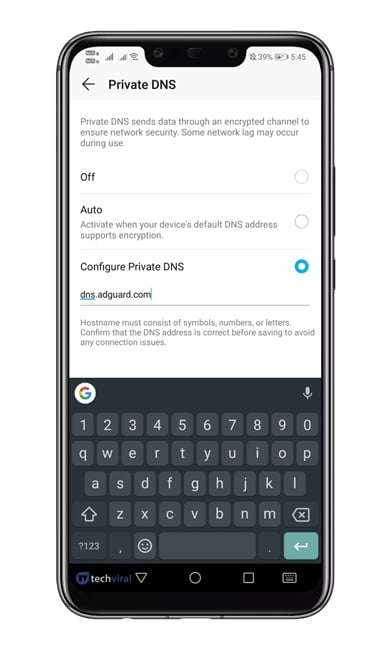
Now, you need to select the option Configure Private DNS.
Under the hostname, type in ‘dns.adguard.com’
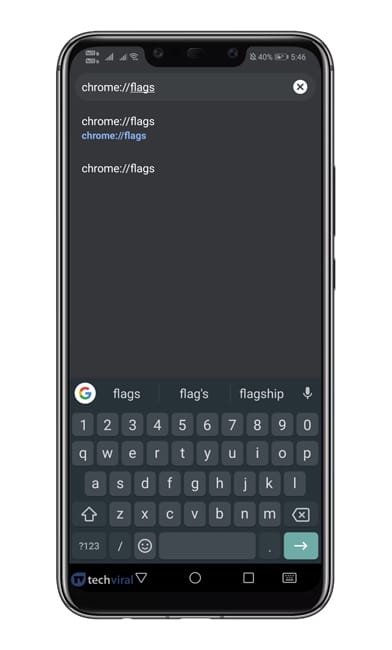
Save the settings and open the Google Chrome browser.
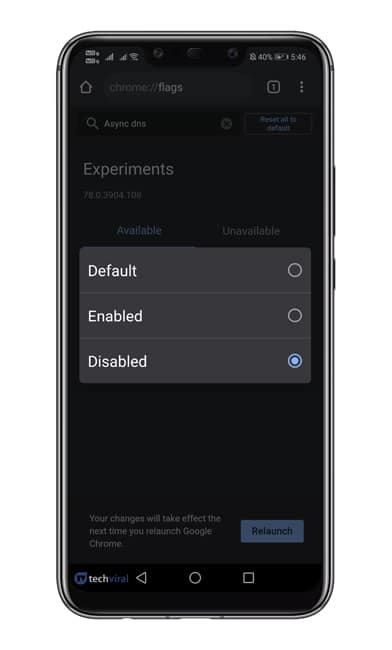
On the URL bar, enter “Chrome://flags” and hit Enter.
Now search for ‘DNS’ and disable the Async DNS option.
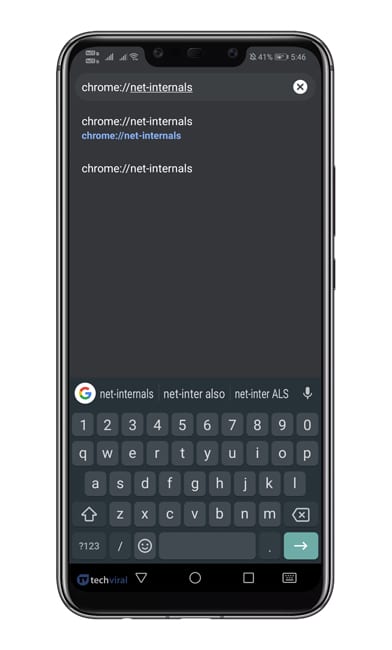
Now enter “chrome://net-internals” in the URL bar and hit enter.
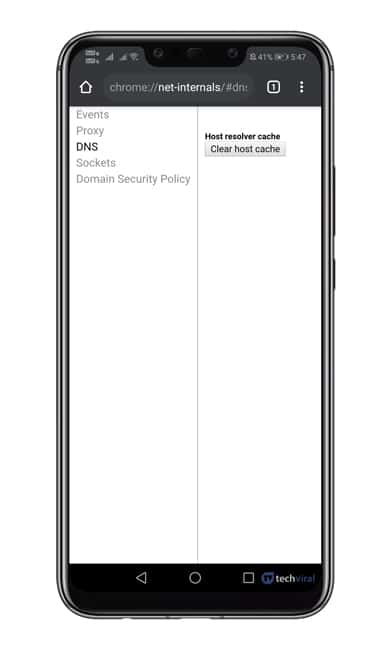
Select the DNS tab and tap on the Clear Cache option.
That’s it! You are done! Now restart your chrome browser to apply the changes. Adguard DNS won’t block all ads, but it will block the most annoying ones. The method shared above would remove ads from every webpage. I hope this article helped you! Please share it with your friends also. If you have any doubts about this, let us know in the comment box below.
Δ